
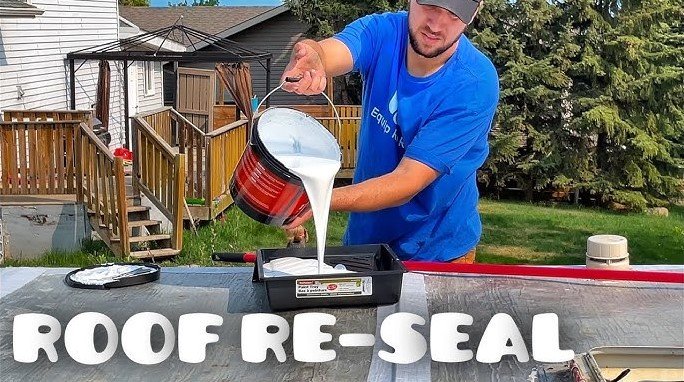
Maintaining your RV roof is the most important task for any camper owner to prevent costly water damage. Using the correct sealant, such as self-leveling lap sealant or high-grade roof coating, ensures a watertight bond that withstands the elements.
There is nothing quite like the freedom of the open road in 2026. Whether you are driving a vintage travel trailer or a brand-new luxury motorhome, your camper is your home away from home. But there is one enemy that can ruin that experience faster than anything else: water intrusion.
A leaky roof is the silent killer of campers, often causing rot, mold, and electrical issues before you even notice the damage inside your living space. If you are asking yourself, “what to use to seal a camper roof,” you have already taken the most important step in RV ownership. Prevention is far cheaper than repair.
By choosing the right materials and applying them correctly, you can extend the life of your rig by decades. Let’s dive into how to choose the right products and get the job done like a pro.
Key Takeaways
- Identify Your Material: Always determine if your roof is EPDM, TPO, or fiberglass before choosing a sealant to avoid chemical reactions.
- Cleanliness is Essential: A clean, dry surface is the secret to a long-lasting bond; never apply sealant over dirt or old, loose material.
- Lap Sealants vs. Coatings: Use lap sealants for edges and vents, and use full roof coatings for overall protection against UV rays.
- Check Compatibility: Ensure your chosen product is explicitly compatible with 2026 RV roofing standards and your specific membrane type.
- Timing Matters: Perform roof inspections at least twice a year to catch small cracks before they become major leaks.
- Safety First: Always use a proper ladder and walk only on the structural rafters of your roof to avoid falling through.
Understanding Your Roof Material
Before you run to the store or browse online for the best sealant, you must know what your roof is made of. Putting the wrong product on the wrong material can actually damage your roof membrane. In 2026, most campers fall into a few primary categories.
EPDM and TPO Rubber Roofs
EPDM (Ethylene Propylene Diene Monomer) and TPO (Thermoplastic Polyolefin) are the most common materials. EPDM is essentially a synthetic rubber, while TPO is a plastic-based membrane. Both are durable but react differently to chemical solvents. You generally need sealants specifically marked as “rubber roof safe.” Never use silicone on these membranes, as it will not stick long-term and makes future repairs nearly impossible.
Fiberglass and Aluminum
Fiberglass roofs are more rigid and common in high-end fifth wheels. Aluminum roofs are found on many older models. These surfaces are generally more forgiving, but they still require high-quality sealants that can flex. Because these roofs expand and contract with temperature changes, you need a sealant with high elasticity.
Choosing the Right Sealant Type
Once you know your material, you need to pick the right product. Not all sealants serve the same purpose. For a successful project, you usually need a combination of products to handle different areas of your roof.
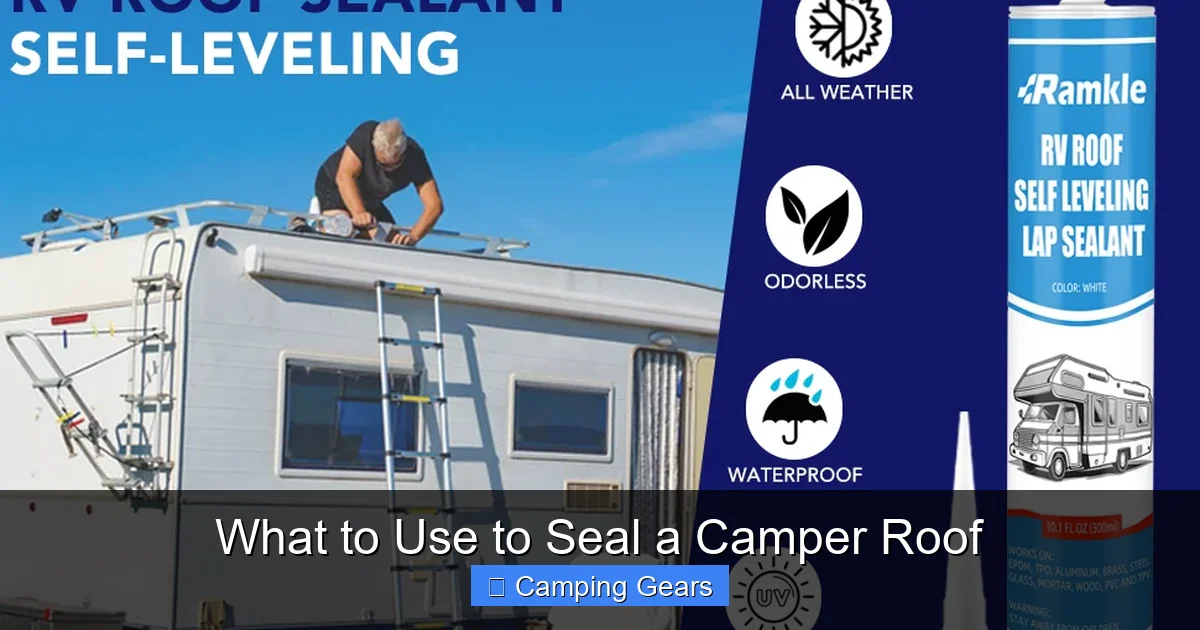
Visual guide about What to Use to Seal a Camper Roof
Image source: m.media-amazon.com
Self-Leveling Lap Sealant
This is the gold standard for sealing vents, skylights, and pipe stacks. When you squeeze it out of the tube, it is thick, but it slowly spreads out into a smooth, even layer. This “self-leveling” action allows it to flow into gaps and create a perfect seal around screws and edges. It is a must-have for any horizontal surface on your roof.
Non-Sag Lap Sealant
If you are working on the sides of your camper or the vertical walls, you cannot use self-leveling sealant. It would just drip off! Non-sag lap sealant stays exactly where you put it. Use this for sealing window frames, side moldings, or any vertical seam that needs protection against rain.
Full Roof Coatings
If your roof looks thin, chalky, or has minor stress cracks everywhere, a full roof coating might be the answer. These are liquid rubber or acrylic products that you roll on like paint. By 2026, many of these coatings offer incredible UV protection, which reflects heat and keeps your camper much cooler in the summer.
The Step-by-Step Sealing Process
Preparation is eighty percent of the work. If you try to take shortcuts, the sealant will peel off within a few months. Follow these steps to ensure a job that lasts for many seasons.
Step 1: Thorough Cleaning
You need to get the roof spotless. Use a mild soap and a soft-bristle brush to scrub away all the road grime, tree sap, and oxidation. If there is old, loose sealant, you should gently scrape it away with a plastic putty knife. Do not use metal scrapers, as they can tear the roof membrane.
Step 2: Drying Time
Moisture is the enemy of adhesion. After cleaning, wait for the roof to be 100% dry. Many experts suggest waiting a full 24 hours of sunny weather before applying any new sealant. If you apply it over moisture, that moisture gets trapped, creating bubbles and eventually lifting the seal.
Step 3: Removing Old Sealant
You do not need to remove every single bit of old sealant if it is still stuck tight. However, if it is cracked, peeling, or has bubbles, it has to go. Use a plastic scraper to remove the bad stuff. Clean the area with a small amount of mineral spirits or an approved roof cleaner to remove any leftover oily residue.
Step 4: Application
Load your chosen lap sealant into a caulking gun. Apply a generous bead around the base of all roof fixtures. If you are using self-leveling sealant, don’t worry about making it perfectly smooth; let the gravity do the work. If you are applying a full coating, use a high-quality roller to ensure an even thickness across the entire roof surface.
Common Mistakes to Avoid
Even experienced campers make mistakes when working on their roofs. Learning what not to do is just as important as knowing what to do. One of the most common errors is using “hardware store” silicone.
The Danger of Silicone
We see it all the time: a camper owner buys a tube of standard bathroom silicone because it’s cheap and available. While it works in your shower, it is terrible for campers. Silicone does not bond well to EPDM rubber, and once it is on, you can never get it off. Nothing else will ever stick to that spot, meaning any future repairs will be nearly impossible.
Ignoring the “Flex” Factor
Your camper moves a lot while driving. It vibrates, sways, and expands in the heat of the day and shrinks in the cold of the night. If you use a rigid or brittle sealant, it will crack almost immediately. Always ensure your chosen sealant is labeled as “flexible” or “expansion-rated.”
Maintenance and Inspections
Once you have finished your sealing project, don’t just forget about it. In 2026, the best campers on the road are the ones that are inspected regularly. You should get up on your roof at least twice a year—perhaps when you open your camper for the season and again when you put it away for winter storage.
The Visual Inspection
Look for “fish-mouthing” or gaps in your existing lap sealant. Check the screws on your vents to see if they are rusted or if the sealant around them has started to pull away. If you see a small crack, touch it up immediately. It is much easier to apply a little bit of touch-up sealant than to repair a rotted roof deck later.
Protecting Your Investment
Consider using an RV cover if you live in an area with harsh winters or extreme sun. UV rays are the number one cause of premature roof degradation. A good quality cover will keep your roof sealant intact for much longer and save you from having to do major work every year.
Conclusion
Learning what to use to seal a camper roof is a rite of passage for every RV owner. By taking the time to understand your materials, cleaning your surfaces properly, and choosing high-quality, flexible sealants, you are protecting the integrity of your entire rig. Don’t wait for a rainy day to find out if your roof is leaking; take control of your maintenance now.
Whether you choose a simple lap sealant touch-up or a full professional-grade roof coating, remember that the goal is a flexible, long-lasting barrier. Stay safe on the ladder, keep your tools clean, and enjoy the peace of mind that comes with knowing your camper is ready for any adventure the road throws your way in 2026.
Frequently Asked Questions
How often should I seal my camper roof?
You should inspect your roof at least every six months for cracks or peeling. While some roof coatings last for years, lap sealants often need touch-ups or “spot sealing” annually depending on your climate.
Can I use clear silicone to seal my RV roof leaks?
No, you should never use standard silicone on an RV roof. It does not adhere well to many RV materials, and once applied, it is almost impossible for any other sealant to stick to that area later.
How do I know if my roof is EPDM or TPO?
The easiest way is to check your owner’s manual or look at the underside of a roof vent; manufacturers often list the material there. If the back of the rubber membrane is gray, it is likely EPDM; if it is white, it is likely TPO.
What is the difference between self-leveling and non-sag sealant?
Self-leveling sealant is designed to flow into gaps on flat surfaces like roof vents. Non-sag sealant is much thicker and is used for vertical surfaces, like the edges where the roof meets the sidewall, to prevent it from running down the side of the rig.
Do I need to remove all old sealant before applying new?
You only need to remove loose, peeling, or cracked sealant. If the old sealant is still firmly attached and creating a good seal, you can usually clean it well and apply the new layer directly over it.
Is it safe to walk on my camper roof?
Most, but not all, camper roofs are walkable. You should always walk near the edges where the rafters are located or use a sheet of plywood to distribute your weight if you are unsure of the roof’s structural integrity.