
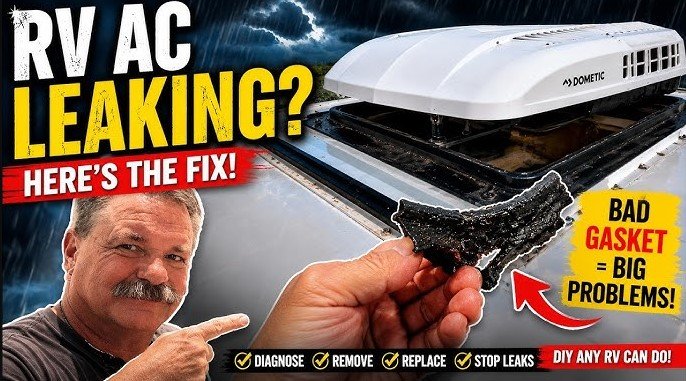
If you find water pooling inside your RV, don’t panic; it is often a simple maintenance issue. Usually, a camper AC leaks because of a clogged drain line, a loose mounting gasket, or a frozen evaporator coil. By following our guide, you can quickly identify the source and restore your cool comfort.
There is nothing quite like the feeling of pulling into your favorite campsite, setting up, and cranking the air conditioning to beat the heat. But imagine walking back into your RV after a long hike only to find a puddle on your floor or a drip coming from your ceiling vent.
Asking yourself, “Why is my camper ac leaking inside?” is a frustrating experience for any RVer. Whether you are a weekend warrior or a full-time nomad in 2026, dealing with water damage is the last thing you want to do.
The good news is that an internal leak is rarely a sign that you need a completely new unit. Most of the time, the culprit is a minor blockage or a seal that just needs a little bit of tightening. In this guide, we will walk through exactly why your unit is acting up and how you can get your cooling system back to its reliable, dry self without needing to head to a professional service center.
Key Takeaways
- Gasket Compression: Over time, the seal between your roof and the AC unit wears out, leading to leaks.
- Drainage Issues: Dust, leaves, and debris frequently clog drain pans and tubes, forcing water inside.
- Frozen Coils: Dirty air filters restrict airflow, causing the coils to freeze and eventually melt into your cabin.
- Leveling Matters: If your camper is not parked level, water cannot drain out of the unit correctly.
- Maintenance Routine: Cleaning your filters every two weeks prevents most common AC problems.
- Tightening Bolts: Checking the mounting bolts once a year can prevent seal gaps.
Understanding Your Camper AC Anatomy
To fix the problem, you first need to understand how the system works. Most RV air conditioners are roof-mounted units. They pull in warm air from your camper, run it over cold evaporator coils, and push the cooled air back down into your living space. As the air passes over those cold coils, humidity is removed from the air just like a glass of ice water sweating on a hot day. That moisture needs somewhere to go.
How Water Moves
The condensation created by your AC is supposed to be caught in a drain pan. From there, it is either funneled out through a drain tube or allowed to drip onto the roof and run off the side of the camper. When you see water leaking inside your camper, it means the water has bypassed this drainage system. It has found a path through the ceiling material instead of heading outside.
The Importance of the Seal
The entire unit sits on top of a foam gasket. This gasket acts as a barrier between the outside elements and your cozy interior. If that gasket fails, water from rain or condensation can seep in. Because of the constant vibration from driving down the highway, these gaskets can shift, shrink, or crack over time. If your unit is more than five years old, this is often the primary reason why your camper ac is leaking inside.
Clogged Drains and Maintenance
If you notice the leak only happens when the AC has been running for a long time, you likely have a drainage issue. Think of your AC unit like your home sink; if the drain is blocked, the water has to go somewhere else. Over the months, dust, pollen, and even small insect nests can build up in the drain pan.
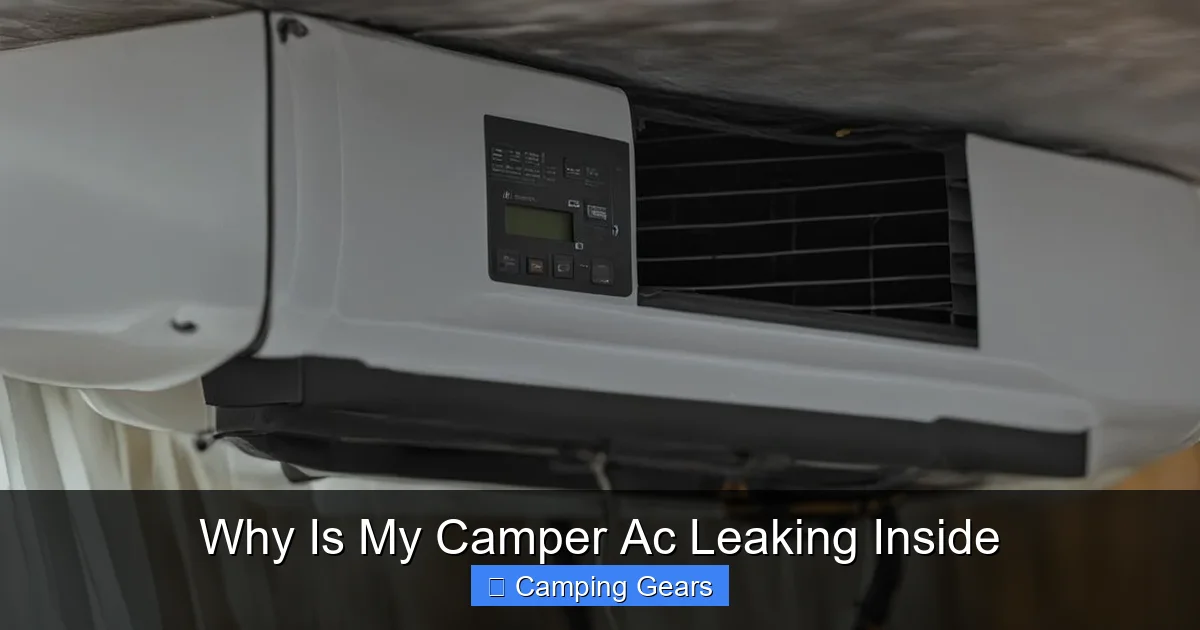
Visual guide about Why Is My Camper Ac Leaking Inside
Image source: rvparenting.com
Cleaning the Drain Pan
You can usually access the drain pan by removing the interior shroud of your AC unit. Once the power is off safety first, always take a look inside. Do you see standing water? Is there a buildup of gunk or debris near the drain holes?
Simply cleaning this area out with a soft brush and some mild soap can often solve the problem immediately. Many 2026 models include specialized trays designed to guide water, so check for any debris caught in these narrow channels.
Checking the Drain Tubes
Some RVs use external drain tubes that run through the roof to the side of the camper. If these get clogged with dirt, water will back up and overflow inside. You can try flushing these tubes with a gentle stream of water or using a thin, flexible wire to clear the blockage. Just be careful not to puncture the hose while cleaning it.
The Mystery of the Frozen Coils
Another very common reason for internal leaking is a frozen evaporator coil. If you look at your AC unit and see ice forming on the coils, your air conditioner is essentially turning into a giant ice cube. When that ice melts, it does so much faster than the drainage system can handle. This creates a surge of water that ends up on your floor.
Why Do Coils Freeze?
The main cause of freezing is restricted airflow. If your air filters are dirty, the unit cannot pull in enough warm air to keep the coils from getting too cold. Another cause is operating the AC when the outside temperature is too low. In 2026, many modern smart thermostats help regulate this, but if you have a manual unit, never set the temperature too low on a chilly night.
How to Fix It
If you find ice, turn the AC mode to “Fan Only” and let it run until the ice is completely melted. Once it is thawed, check your air filters. If they are gray or clogged with dust, clean or replace them immediately. Keeping those filters clean is the single best way to prevent ice buildup and keep your unit running efficiently all season long.
Addressing Gasket Issues
If your AC unit is leaking water even when it is not running, or if it leaks specifically after a rainstorm, your roof gasket is likely the problem. The gasket is the sandwich layer between your RV roof and the AC housing. It is designed to be compressed to create a watertight seal.
Tightening the Mounting Bolts
Sometimes, the fix is as simple as tightening the four mounting bolts that hold the unit in place. These bolts are located inside the unit under the ceiling shroud. Go slow and tighten them in a crisscross pattern, just like you would with car lug nuts. Don’t over-tighten, or you could crack the plastic frame! A little bit of snugging often restores the seal.
Replacing a Worn Gasket
If the gasket is cracked, brittle, or no longer has any “bounce” to it, tightening the bolts won’t help. You will need to remove the AC unit from the roof, scrape off the old gasket, and install a new one. While this sounds intimidating, it is a very doable project for most RV owners with a buddy to help lift the unit. A new gasket is inexpensive and can add years of life to your system.
The Leveling Factor
Believe it or not, the angle of your camper matters. Most RV AC drain pans are designed with a slight slope to encourage water to run toward the drain tubes. If your camper is parked on a significant incline, that slope might be working against you. The water might pool on the “high” side of the pan and spill over the edge directly into your ceiling.
Practical Tips for Parking
Always try to keep your rig as level as possible. Not only does this help your appliances run better, but it also ensures that your gray and black tanks drain properly and your AC unit functions as intended. In 2026, many newer leveling systems make this easier than ever with automatic sensors, so take the time to let the system finish its cycle before you settle in.
Preventative Maintenance for 2026
An ounce of prevention is worth a pound of cure. To avoid ever having to ask “why is my camper ac leaking inside,” incorporate these simple steps into your seasonal checklist.
- Bi-Weekly Filter Checks: Check your air filters every two weeks, especially if you are camping in dusty areas.
- Annual Roof Inspection: Once a year, climb up and inspect the condition of the AC shroud and the area around the base.
- Cleaning the Condenser Coils: Use a specialized coil cleaner spray to keep the outside metal fins clear of debris.
- Testing the Drain: Periodically pour a small amount of water into the drain pan to ensure it exits the camper as it should.
By keeping your system clean and ensuring that your roof seal remains tight, you will save yourself from unexpected drips and costly repairs. Your AC unit works hard to keep you comfortable, so show it a little love, and it will keep you cool for years to come.
Conclusion
Finding a leak in your camper is never a fun surprise, but it is rarely a reason to despair. By systematically checking your air filters, clearing your drain pans, inspecting your mounting bolts, and ensuring your rig is level, you can solve most AC issues yourself.
Remember, in 2026, you have access to plenty of resources and community forums if you get stuck, but taking a proactive approach to maintenance is the best way to keep your adventures dry and comfortable. Grab your screwdriver, take a look at your unit, and get back to enjoying the great outdoors!
Frequently Asked Questions
How often should I clean my camper AC filters?
You should check and clean your filters every two weeks during the camping season. If you are in a dusty environment, check them more frequently to prevent restricted airflow.
Can a dirty filter really cause a leak?
Yes, a dirty filter restricts airflow, which causes the evaporator coils to freeze. When the ice melts, it creates more water than the drain system can handle, causing a leak.
How do I know if my mounting gasket needs replacing?
If you have tightened your mounting bolts and you still see water seeping in during rainstorms, the gasket is likely worn out. If the foam looks cracked, flat, or brittle, it is time for a new one.
Is it safe to drive with a leaking AC unit?
While you can physically drive with a leaking unit, it is not recommended as water can damage your interior ceiling panels and insulation. Address the leak as soon as possible to avoid mold growth.
What should I use to clean the drain pan?
Use a mild soap and water solution with a soft cloth or brush. Avoid harsh chemicals that could damage the plastic or the rubber seals of your AC unit.
Should I hire a professional to fix my AC?
If you have checked for clogs, cleaned the filters, and tightened the bolts but the leak persists, it might be time to call a pro. They can perform a pressure test to ensure there are no deeper mechanical issues.